
Installing Rod Holders on Your Inflatable Boat
A hands-on breakdown of glue-on mount pads, transom brackets, and track systems to secure your rods safely without compromising PVC fabric.
 Rigging Guide
Turn a Portable Inflatable into an Organized Fishing Craft
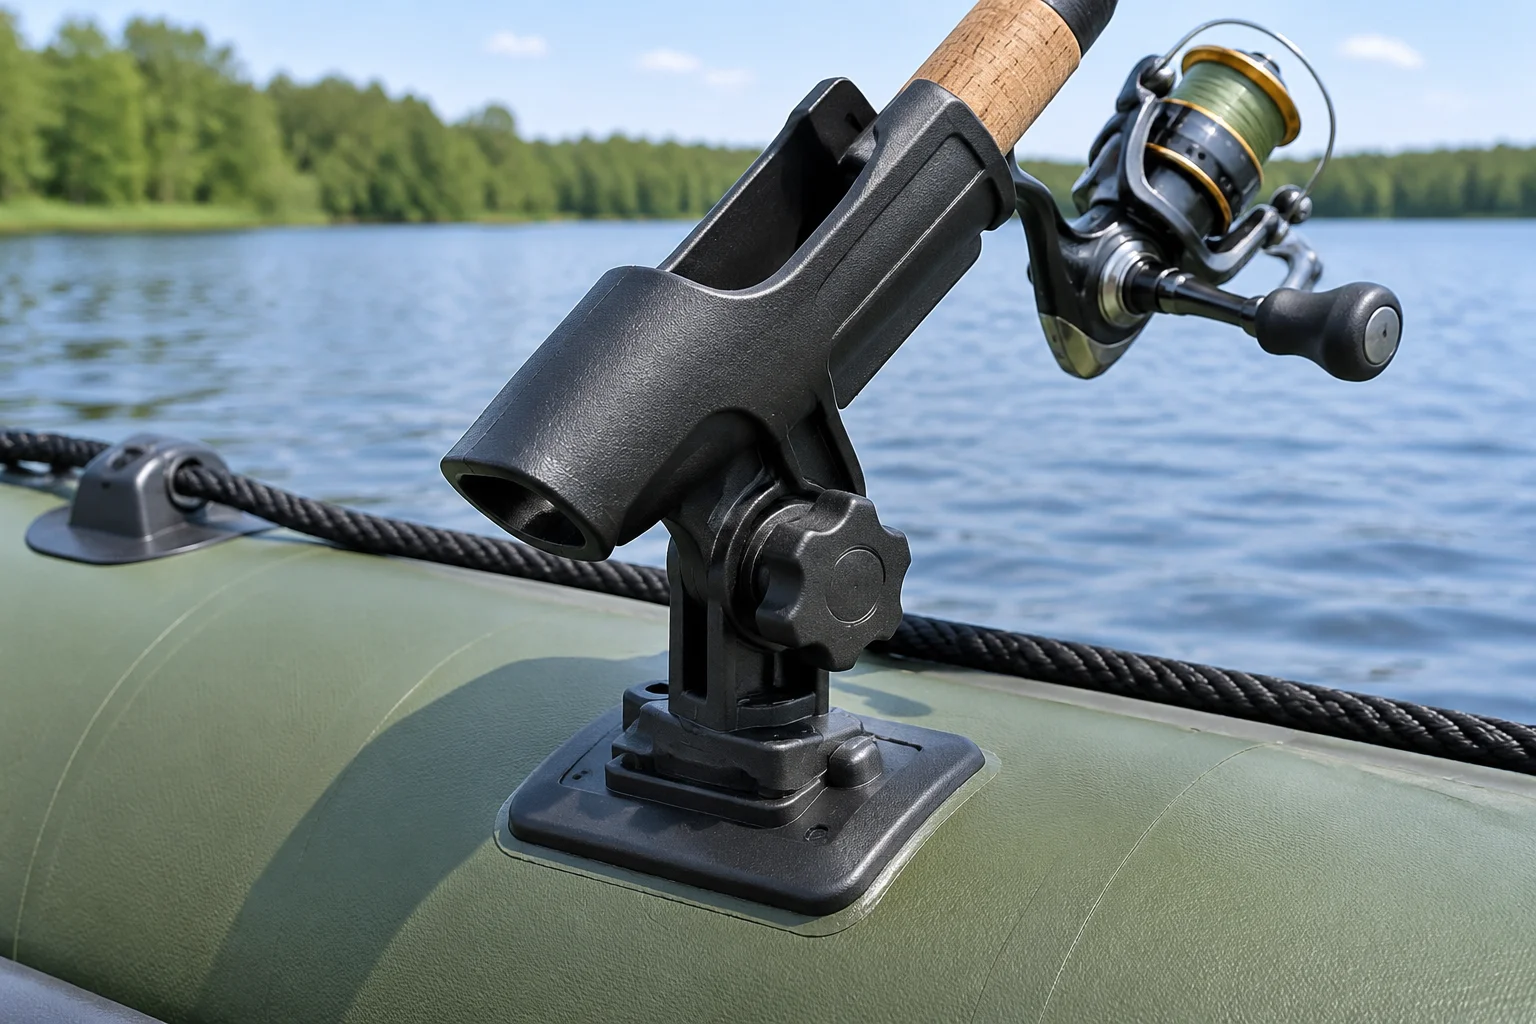
Inflatable crafts offer unmatched portability, but juggling fishing rods on the floor quickly causes tangled lines, bent guides, and punctured fabric scares. Installing dedicated rod holders transforms your deck ergonomics. Whether mounting clamp-on holders to an engine transom or bonding heavy-duty PVC receiver pads directly onto the buoyancy tubes, choosing the right adhesion method and positioning guarantees worry-free trolling.
Article Chapters & Advice
Selecting Mount Placement: Tube Chambers vs Solid Transom
Before reaching for adhesive or power drills, determine how your boat moves across the water. Trolling introduces substantial drag forces that tug rearward against the rod tip. Mounting holders onto the rigid marine plywood or fiberglass transom offers maximum shear resistance with zero tube stress. However, if your motor controls or fuel bladder already crowd the rear bulkhead, flexible PVC receiver pads glued onto the forward side chambers keep your rods directly within your natural sightline.
Avoid placing mounts directly where your oars pivot when rowing. Sit inside the inflated craft, grab your oars through their full stroke, and use blue painter's tape to mark clear clearance zones. Positioning holders at roughly 45 to 60 degrees forward of your seating bench provides seamless rod retrieval while keeping rod tips well clear of water spray.
The Adhesion Protocol: Achieving a True Chemical Weld
Bonding hardware to PVC is not like gluing household plastics; it requires an active chemical bond using MEK solvent and two-component polyurethane marine adhesive.
- Deflate the chamber slightly to 60% capacity so the fabric rests flat under the template without excessive surface tension.
- Scuff the mounting footprint and base pad thoroughly using 180-grit sandpaper, then wipe both contact surfaces clean with methyl ethyl ketone (MEK).
- Apply two whisper-thin coats of mixed adhesive to both the tube and pad, allowing 10 minutes between layers until tacky to touch.
- Firmly roll the pad outward from the center using a seam roller to force out trapped air bubbles, then let it cure undisturbed for 48 hours.
Never rush the chemical cure time. Even though the glue feels solid within an hour, line tugs from a snagged crankbait will peel an uncured patch clean off the fabric. For transom installations, pre-drill pilot holes, coat every stainless screw in marine silicone sealant to prevent water intrusion into the wood core, and back the fasteners with stainless fender washers.
Related Adventures & Guides
Ready to test these techniques on open water?
Explore our range of heavy-duty inflatable boats, SUP boards, carbon paddles, and electric marine motors.
Leave a Comment or Question